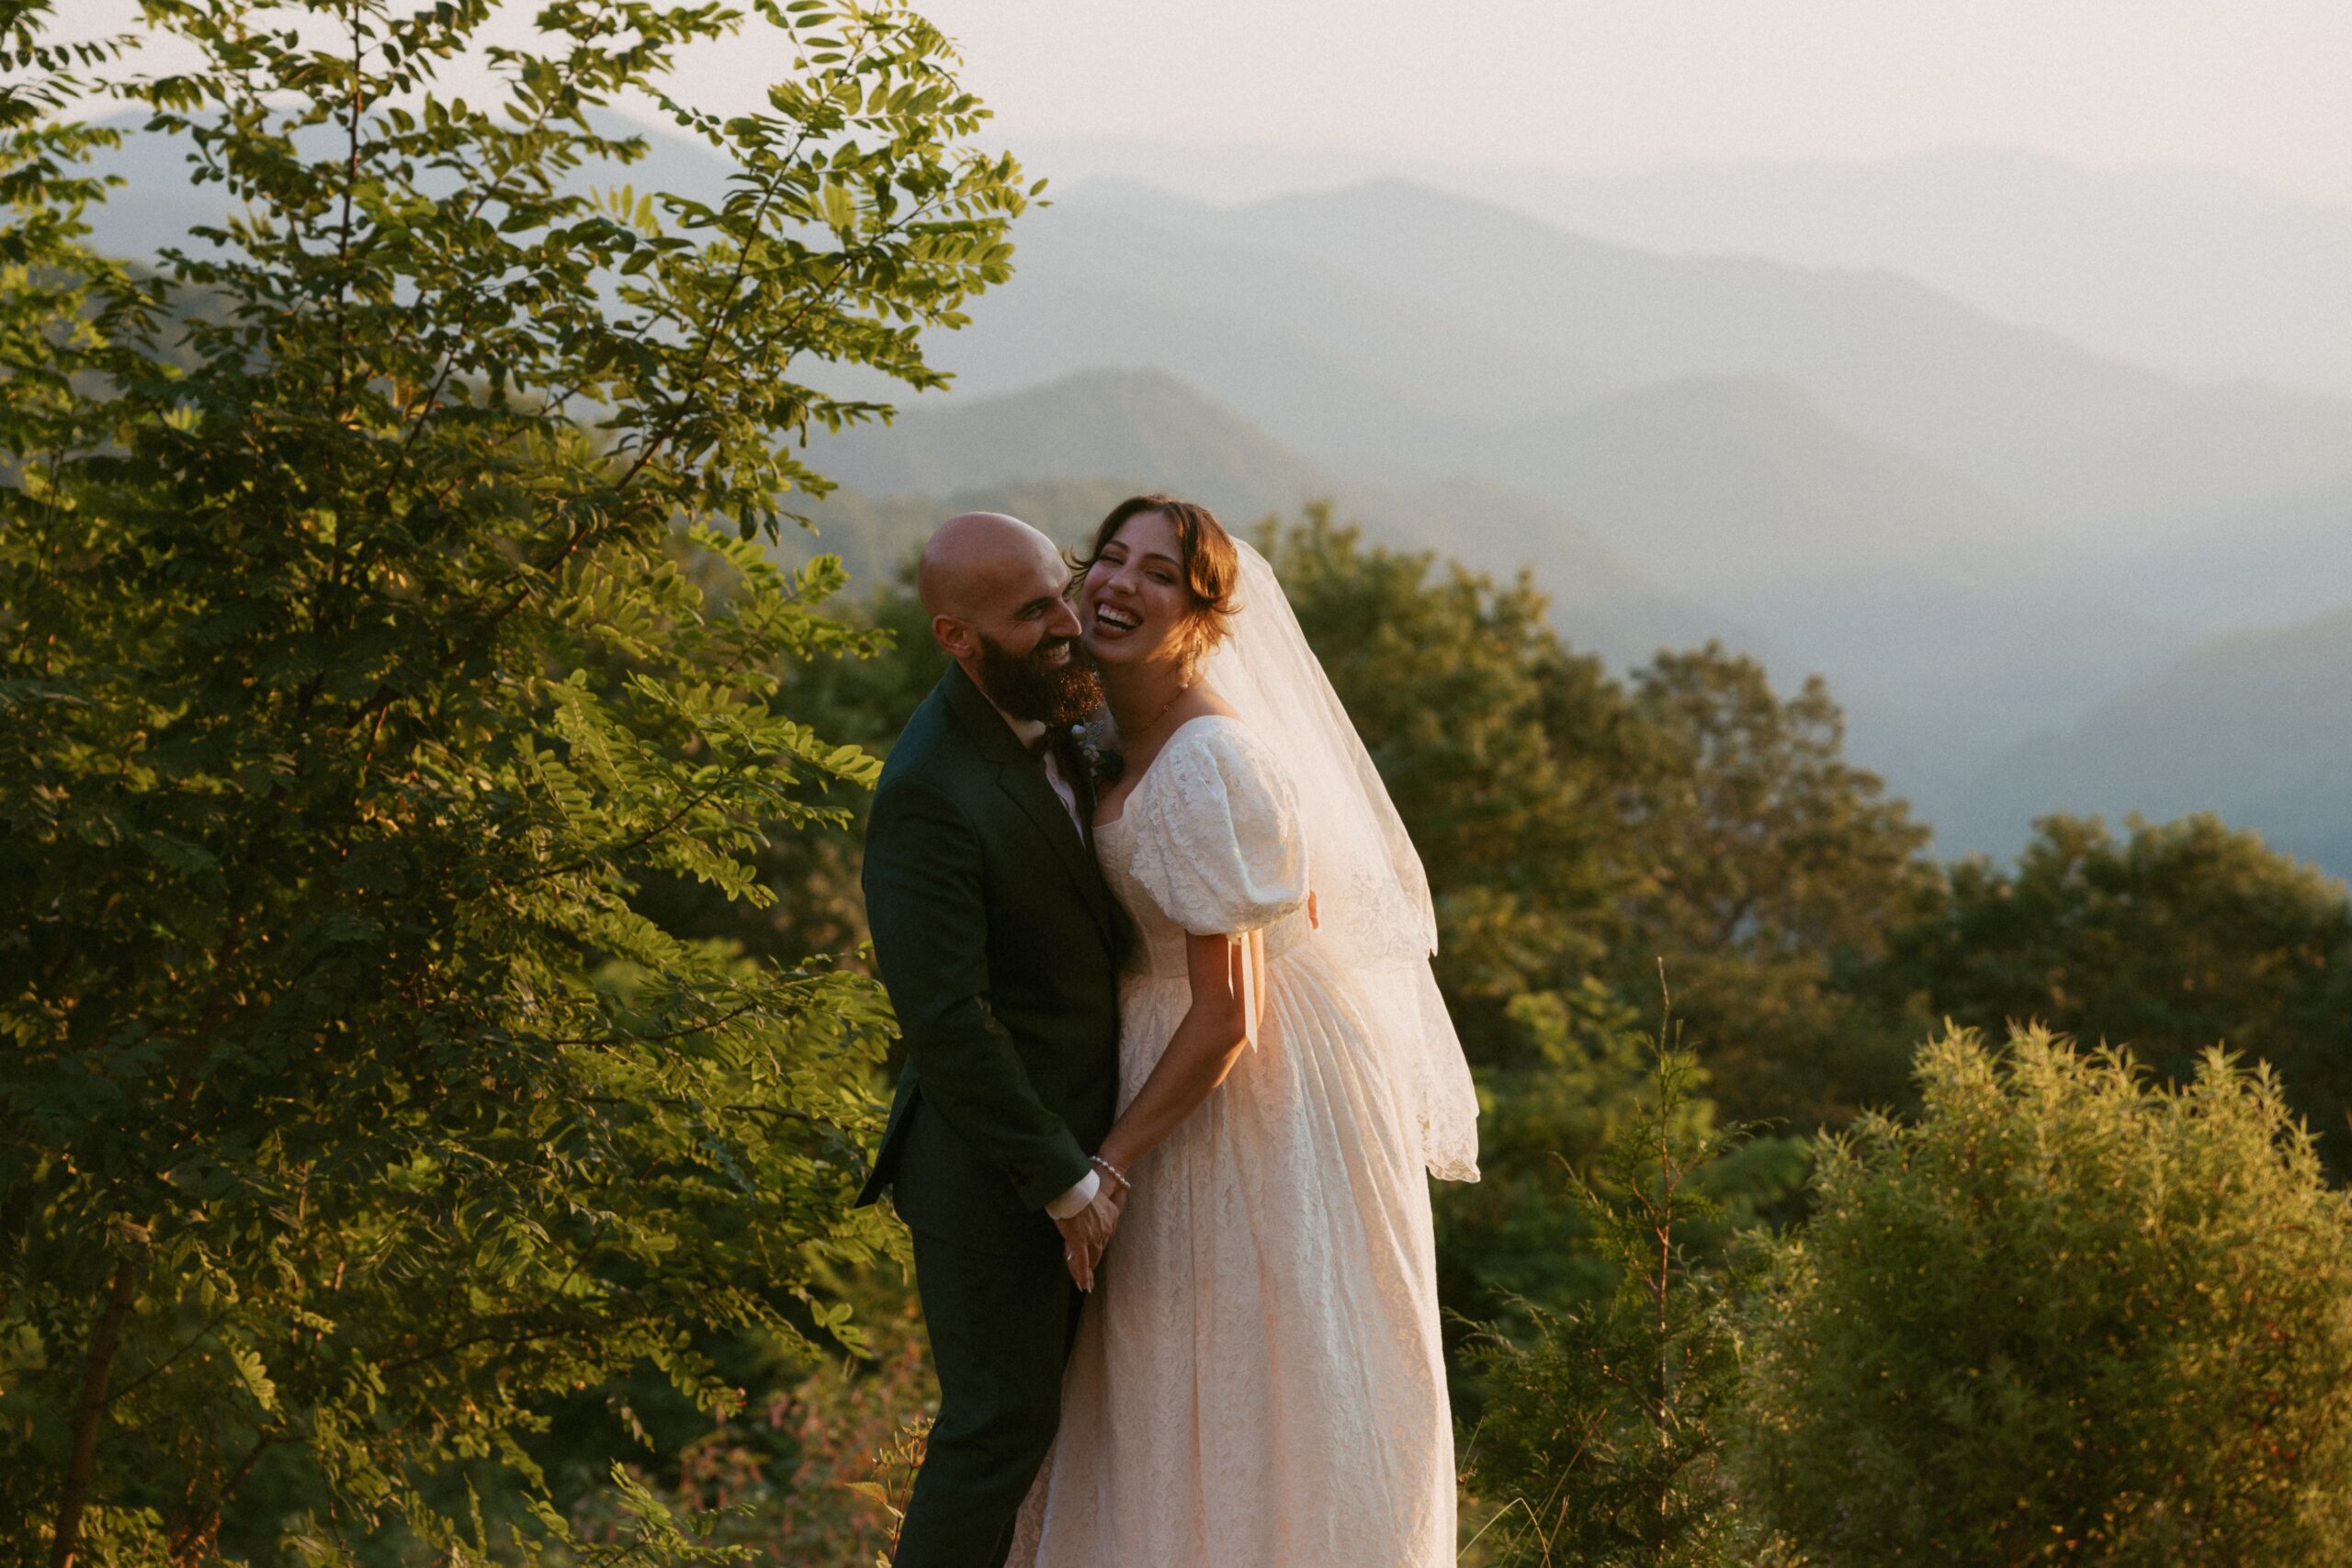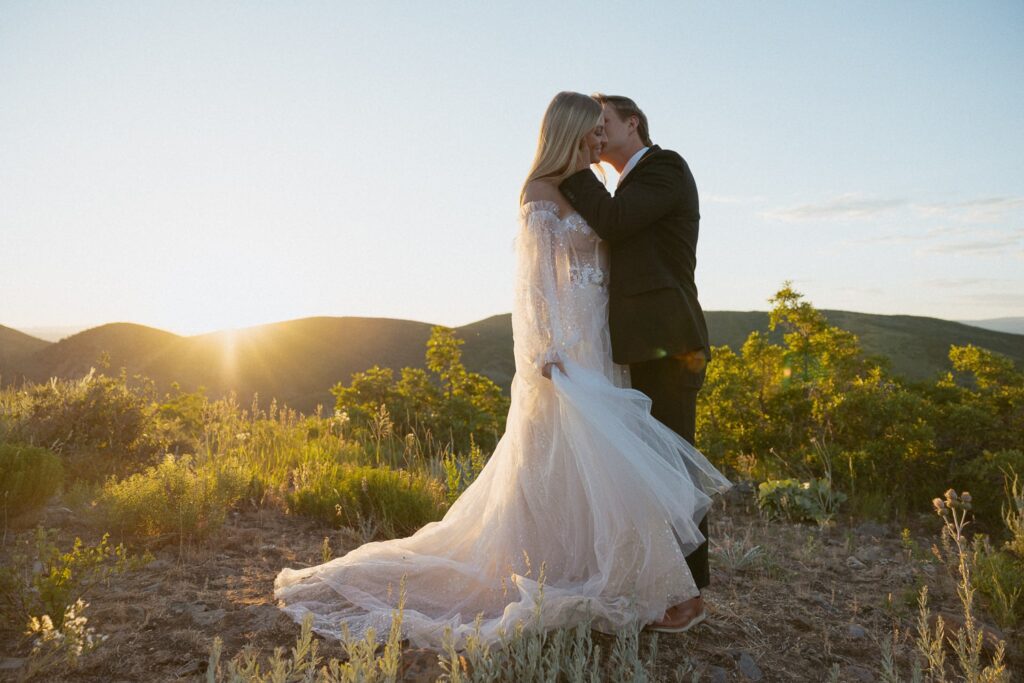
Planning a micro wedding or elopement is all about creating a day that feels personal, stress-free, and totally you. A big part of making that happen? Building the perfect elopement or micro wedding timeline. Whether you’re having a simple ceremony with just the two of you or a small gathering of close friends and family, a well-thought-out timeline ensures everything flows smoothly. Let’s dive into everything you need to know about creating a micro wedding timeline that works for you.
What is an Elopement or Micro Wedding Timeline?
An elopement or micro wedding timeline is essentially a schedule of events for your wedding day. It outlines what happens when, ensuring there’s time for all the important moments without feeling rushed. Unlike traditional weddings, micro weddings and elopements tend to be more flexible and less structured, but having a timeline is still key to keeping the day stress-free and organized.
A micro wedding timeline often includes everything from getting ready to the final farewell, while an elopement timeline might be more focused on the ceremony, photos, and any adventurous activities you’ve planned. The beauty is that you can tailor it to fit your vision.
How Long is the Average Elopement or Micro Wedding?
The length of an elopement or micro wedding can vary depending on what you’ve planned, but here are some general guidelines:
- Elopements: These typically last between 4-8 hours. If you’re planning a simple ceremony and some photos, 4-5 hours might be enough. If you’re including activities like hiking, exploring, or a private dinner, plan for closer to 8 hours.
- Micro Weddings: These often range from 6-10 hours, depending on the number of events you’re including (like getting ready, a first look, and dinner).
Remember, you’re not tied to these numbers—your day can be as long or short as you want. And don’t forget that many micro weddings and elopements happen in unique locations, which can impact the timing. For instance, a mountaintop ceremony may require additional time for hiking or a lift ride to the top, while a beachside wedding might need extra time for navigating sandy paths or waiting for the perfect tide.
What to Include in Your Elopement or Micro Wedding Timeline
Getting Ready/Details

- Time needed: 1-2 hours
- Photos to include: Flat lays of rings, invitations, and accessories; candid moments of you getting ready; and portraits once you’re dressed.
- Make sure to leave enough time to relax, sip a coffee or champagne, and soak it all in before the day officially begins. These moments can set the tone for the rest of your day, so having a calm and unhurried start is key.
First Look
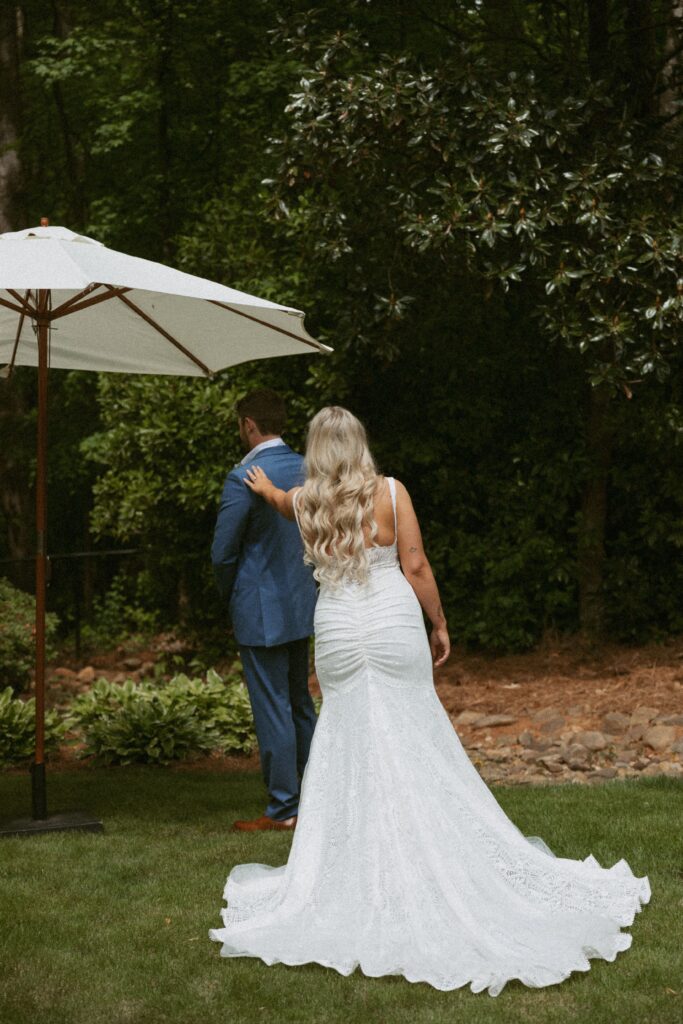

- Time needed: 15-30 minutes
- Photos to include: The moment you see each other for the first time, reactions, and a few romantic portraits right after.
- A first look is a great way to ease nerves and create an intimate moment before the ceremony. It also gives you more flexibility with your timeline, as it allows for some couple’s portraits to be taken earlier in the day.
Ceremony
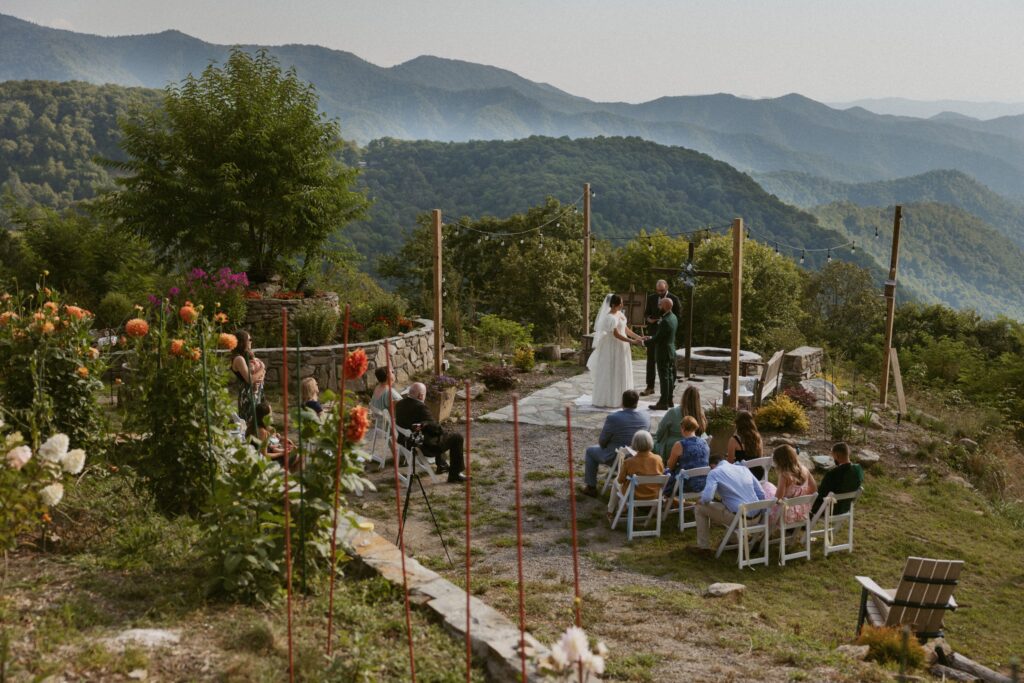
- Time needed: 20-60 minutes
- Photos to include: Wide shots of the ceremony location, close-ups of vows and ring exchanges, and the first kiss.
- Consider the significance of your location—it could be a mountaintop, a forest clearing, or a cozy backyard. Adding personalized touches like a handfasting ritual, special readings, or a song can make your ceremony even more memorable.
Sunset Couples Photos
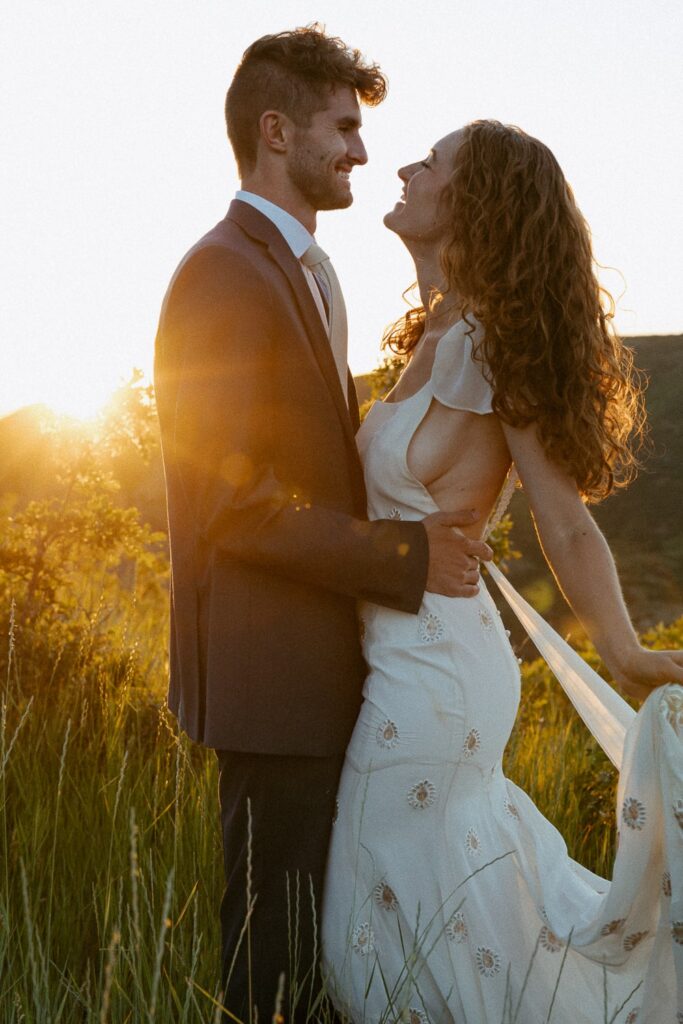
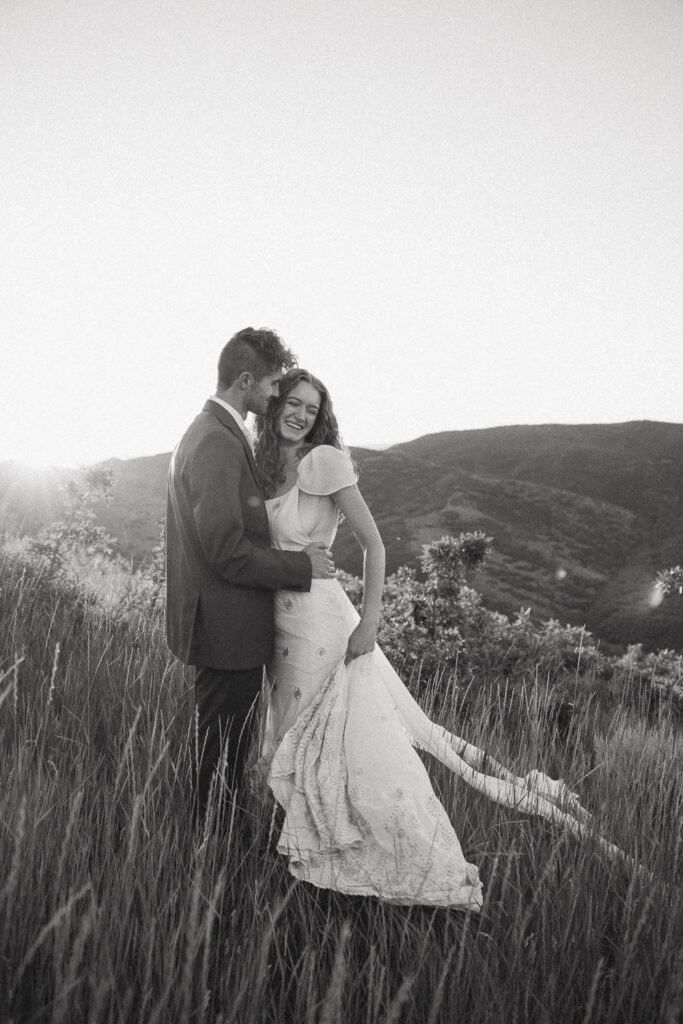
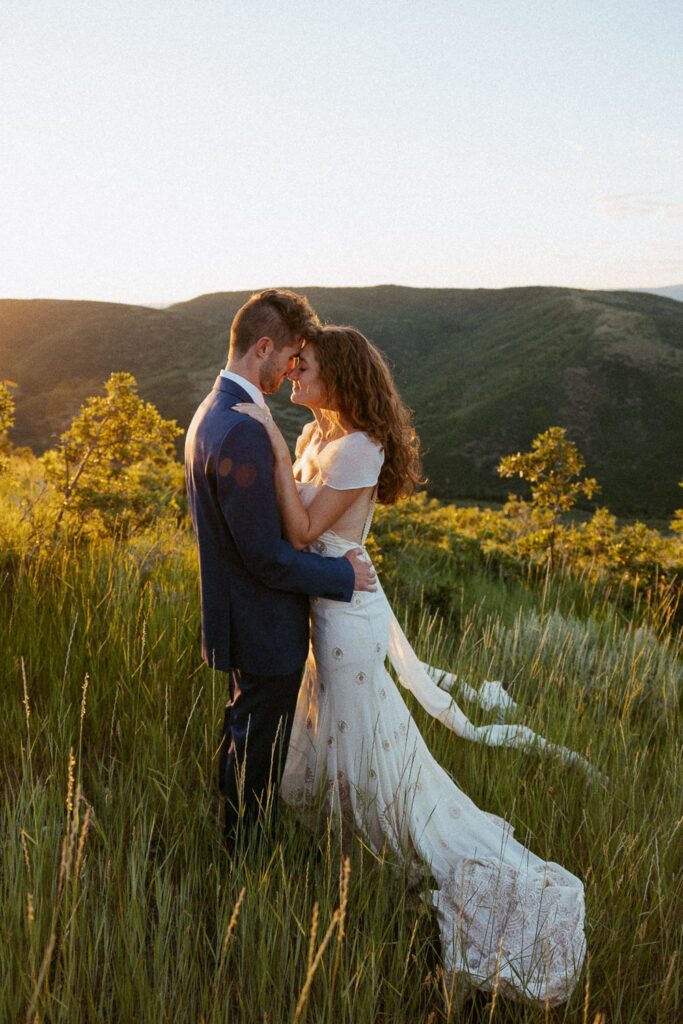
- Time needed: 30-60 minutes
- Photos to include: Dreamy golden-hour shots with natural backdrops. These photos are often the most magical and cherished.
- Sunset is the perfect time for those romantic, glowy portraits. If you’re in a stunning location, consider taking a short hike or walk to capture unique views during this time.
Group Photos
- Time needed: 15-30 minutes
- Photos to include: Group shots with family and friends, candid moments, and fun, informal poses.
- Make a list of group combinations ahead of time to streamline this part of the day.
- Make a list of group combinations ahead of time to streamline this part of the day. For micro weddings, group photos are usually quicker and less formal, which allows for more candid moments.
Activities
- Time needed: Varies
- Photos to include: Whatever you’ve planned—whether it’s a hike, a picnic, or a champagne toast—these candid moments showcase your personality and the fun of the day.
- Some couples include activities like kayaking, a bonfire, or exploring nearby landmarks to make their day even more memorable. These moments also give you a chance to step away and enjoy some time together.
Dinner
- Time needed: 1-2 hours
- Photos to include: Table settings, food details, and candid moments of you and your guests enjoying the meal.
- This is a great time for heartfelt toasts and relaxed conversations. For an elopement, you might enjoy a private meal for two, while a micro wedding often includes a small but intimate dinner with your closest loved ones.
Things to Consider When Creating Your Elopement or Micro Wedding Timeline
Leave Wiggle Room
- Build in extra time between events to allow for unexpected delays or spontaneous moments.
- You don’t want to feel rushed—this day is meant to be enjoyed! Having some buffer time can also help reduce stress if things run a little behind schedule.
Include Travel Times
- Factor in travel between locations, whether it’s a short walk or a drive.
- Don’t forget to account for traffic or time to park. If you’re heading to a remote or popular spot, arriving early can make all the difference.
Avoid the Middle of the Day
- The lighting during midday is often harsh and less flattering for photos.
- Plan key photo moments (like couples portraits) for early morning or late afternoon. If your timeline does include midday activities, look for shaded areas or use props like umbrellas to soften the light.
Example Elopement Timeline
12:00 PM: Getting ready & Details
1:30 PM: First look
2:00 PM: Travel to ceremony location
3:00 PM: Ceremony
3:30 PM: Champagne toast and picnic
4:00 PM: Activity (hike, explore, etc.)
5:30 PM: Sunset photos
6:30 PM: End of day
Example Micro Wedding Timeline
2:30 PM: Getting ready & Details
4:00 PM: First look
5:00 PM: Ceremony
5:30 PM: Group Photos
6:00 PM: Dinner
6:30 PM: Toasts and dancing
7:00 PM: Sunset couples photos
8:00 PM: End of day
Hire a Micro Wedding & Elopement Photographer
When it comes to your micro wedding or elopement, you deserve a photographer who not only captures every beautiful detail but also helps you craft a timeline that feels natural and stress-free. That’s where I come in!

As a South Carolina-based elopement and micro wedding photographer, I specialize in creating storytelling images that reflect your unique connection. I’m all about capturing those candid, in-between moments—the laughter, the quiet glances, and the pure joy of your day.
Not sure where to start with your timeline? I’ve helped countless couples plan their perfect day, and I’d love to help you too. Let’s chat about how we can make your vision come to life! Click here to get in touch.
Final Tips for Creating Your Micro Wedding Timeline
Work with Trusted Vendors
Hiring experienced vendors can make a world of difference. A professional officiant, florist, or planner can help you stick to your timeline and ensure everything runs smoothly. Don’t hesitate to ask your vendors for advice—they’ve likely worked on many weddings and can provide valuable insights.
Be Prepared for Weather
Outdoor weddings are stunning, but they come with unpredictable weather. Have a backup plan or some essentials on hand, like umbrellas, blankets, or hand warmers. Your photographer can help you embrace the elements for unique and memorable photos.
Communicate Your Timeline
Share your finalized timeline with everyone involved, including your officiant, vendors and any family or friends who are helping. Clear communication helps avoid confusion and keeps the day on track.
Personalize Your Day
This is your wedding day, and it should feel like it. Incorporate elements that reflect your story, like a playlist of your favorite songs, handwritten vows, or a signature cocktail. These details make the day even more meaningful.
Use Tools to Organize Your Micro Wedding Timeline
Planning tools like Google Docs or wedding apps can be a lifesaver when it comes to organizing your micro wedding timeline.
- Google Docs: This is a great option for creating and sharing your timeline. You can easily update it as needed and share it with your vendors, family, or anyone else involved in the day.
- Wedding Planning Apps: Apps like Zola or The Knot offer built-in timeline features that keep everything in one place, from vendor contacts to schedule details.
Using these tools ensures that everyone has access to the same information and minimizes the chance of miscommunication. Plus, it makes updates a breeze if your plans change.
Relax and Enjoy Your Day
The timeline is there to guide you, not control you. Once the big day arrives, it’s important to let go and enjoy the experience. Trust your vendors and the people around you to handle the details, so you can be fully present.
- Embrace spontaneity—sometimes the unplanned moments turn out to be the most memorable.
- Focus on your partner and the love you’re celebrating. If something doesn’t go exactly as planned, remember that it’s part of the story that makes your day unique.
By trusting the process and staying flexible, you’ll create a wedding day that’s as magical and meaningful as you envisioned.
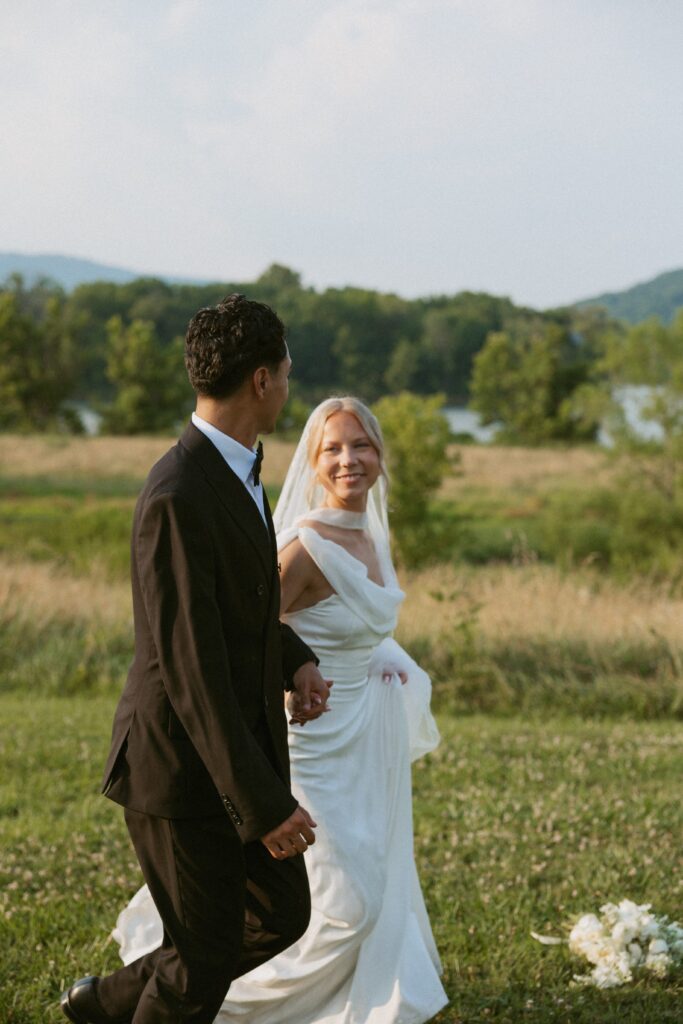
What questions do you have about building your micro wedding timeline? Let me know in the comments or email me at mountainadventurephotography@gmail.com!
TESSA
meet
I'm a micro-wedding and elopement photographer in Upstate, South Carolina. My style is documentary—I love capturing the in-between, unposed moments between you and your love. I strive to know you and capture you at your most authentic.
